XUMI Runbook
Using Local Development Environment
This runbook provides step-by-step instructions for setting up a development environment and creating an XUMI-compliant model locally.
Setup Development Environment
Workstation requirements:
- Linux (Ubuntu), MacOS or Windows with WSL2 (run commands from Ubuntu CLI)
- Docker Engine
- Python v3.12+
- Git
- Poetry package manager installed with pipx package manager
- GNU Make
- VSCode for convenient editing (or other Python IDE)
Check your environment and install missing pieces (see instructions below).
# validate package versions
python3 --version; poetry --version; make --version

# should print similar info:
# Python 3.12.3
# Poetry (version 2.1.2)
# GNU Make 4.3
Example 1. Install Prerequisites (linux)
# Install Docker
# Note: this is only for Linux, on Windows install
# with MSI and enable WSL2 integration,
# then restart the Ubuntu shell
curl -fsSL https://get.docker.com -o get-docker.sh
sh get-docker.sh

docker -v
# should print docker version, e.g.
# Docker version 26.1.1, build 4cf5afa

# Install Python 3.12+
sudo apt-get update
sudo apt-get install python3.12 python3.12-venv python3.12-dev

# Install Git & Make
sudo apt-get install git make

make -v
# should print make version, e.g.
# GNU Make 4.3
# Built for x86_64-pc-linux-gnu
Example 2. Install XUMI SDK and CLI
# Clone XUMI repository
git clone https://git.icvr.io/icvr/xavier/ml/xumi-framework.git

cd xumi-framework

# Create and activate virtual environment
python -m venv .venv
source .venv/bin/activate

# Install dependencies
make dev-setup

# Verify SDK is installed
xumi --version
# XUMI, version 1.0.0.dev1
Example 3. Authenticate with Xavier system
# Log in to Xavier
xumi auth login
# Follow interactive prompts for authentication
# ...
# ✓ Authentication successful
Create, Test and Build a Model
Example 1. Create a New XUMI Project
```bash
# Create a new text generation model project
xumi model create text-generator --domain text

# === Project Creation ===
# → Initializing new 'text' model project: text-generator
# ✓ Project structure created successfully
# ✓ Project initialized successfully at: /mnt/c/Projects/walle/xumi-framework/text-generator
# → Project details:
# • Model: text-generator v0.1.0
# • Domain: text
# ...
# Commands: 3 command(s) - initialize, predict, cleanup
# Workflow: 3 step(s) - initialize → predict → cleanup

cd text-generator
```
Example 2. Initialize Development Environment
# Option 1.  If you have VSCode installed
# Create the docker dev environment container

xumi init-env

# This will:
#   - Create and build a Docker container with
#     necessary dependencies & nova-spi SDK
#   - Mount project folder as a mount in /app
#   - Run the container in keep-alive mode

# Sample output:
# • Initializing development environment for: text-generator v0.1.0 (text)
# • Environment features: CPU only, Python 3.12
# ✓ Container built successfully
# ✓ Container started successfully
# ✓ Container started with ID: f479e335fd2b3dbedd77d70027cfa10ae73ad2609fecb551d6c27f7c4814cdcf
# ✓ Development environment initialized successfully. Container ID: f479e335fd2b
# • To attach to the container, run: docker exec -it f479e335fd2b

# Now to open the vscode editor, do:
xumi container attach --code

# This will run new VSCode instance and attach to this container

# Option 2.
# Set up the development docker environment
# and attach the current shell

xumi init-env --attach

# This will do the above, then attach current shell
# to the container filesystem
Example 3. Implement Model Code
# Edit run.py with model implementation
# Example implementation is provided in the template
nano model.py

# Edit manifest.yml to define inputs and outputs
nano manifest.yml
Example 4. Validate Manifest
# Validate manifest structure
xumi model validate manifest.yml
# OR
xumi model validate

# Sample output:
# === Manifest Validation ===
# → Validating manifest: /app/manifest.yml
# ✓ Validation complete
# ✓ Validation successful! No errors found.
Example 5. Test Locally
# Test model with sample input
nova-spi model run --input prompt="Hello, world!"

# Sample output:
# === Running text model: text-generator v0.1.0 ===
# • Input parameters:
# •   prompt: foo bar baz
# •   max_tokens: 100
#
# === Processing inputs with model... ===
# ✓ Model execution success
# ✓ Model execution completed in 0.11 seconds
#
# === Model Outputs ===
# • Output parameters:
# •   text: foo bar baz way with it one all very way what
#           them has; back know like up as over was day use as?
Example 6. Run Security Scan
Example 7. Run Benchmarks
Example 8. Build docker image & tag with version
# Build docker image
# IMPORTANT:  this is only possible from the shell environment,
# since it requires Docker binary.  Exit the container if
# previously attached
nova-spi model build

# Sample output:
# === Loading project data... ===
# • Project root: .../nova-spi/text-generator,
#   python version: 3.12
  #
# === Project Information ===
# ✓ Project data loaded
# • Model information
# ... information table
# • Inputs
# ... information table
# • Outputs
# ... information table

# === Building project: text-generator v0.1.0 ===
# → Building Docker image...
# ✓ Docker image text-generator:0.1.0 built successfully
# ✓ Docker image built successfully: text-generator:0.1.0
# • To run the model, use the following command:
# • docker run --rm text-generator:0.1.0
Example 9. Run dockerized model locally
# Option 1. Execute model provding inputs as environment vars
docker run --rm --env INPUT_PROMPT="foo bar baz" text-generate:0.1.0

# Sample output
# Current working directory: /app
#
# LOGO
# (c) 2025 ICVR LLC - WALL·E Service Provider Interface (SPI) CLI - v1.0.0.dev9
#
# Got inputs {'prompt': 'foo bar baz', 'max_tokens': 100}
# Got result {'text': 'foo bar baz only back way them in. that.
# good all as where one that on good through by us them
# before been'}


# Option 2. Execute model providing inputs as JSON file
echo '{\n"prompt": "hello, my dear world"\n}' > inputs.json
docker run --rm -v $(pwd)/inputs.json:/app/inputs/inputs.json text-generator:0.1.0

# Sample output
# Current working directory: /app
#
# LOGO
# (c) 2025 ICVR LLC - WALL·E Service Provider Interface (SPI) CLI - v1.0.0.dev9
#
# Got inputs {'prompt': 'hello, my dear world', 'max_tokens': 100}
# Got result {'text': 'hello, my dear world many could after it
# will see; come there many world has good was up day because up
# new a great'}

# Obtain the result as JSON file
# For this, mount the local directory as /app/outputs in docker
mkdir outputs
docker run --rm --env INPUT_PROMPT="foo bar baz" -v $(pwd)/outputs:/app/outputs text-generate:0.1.0

# some inference output...

cat outputs/output.json

# {"text": "hello, my dear world one! that could way! over can
# can some as have some? through into down find was look!
# most one see"}
Example 10. Submit to Platform
Useful commands for dockerized model
Example 1. Run any command in docker using nova-spi CLI
# Just override the entrypoint with "--entrypoint nova-spi" arg

# Show model info
docker run --rm --entrypoint nova-spi text-generator:0.1.0 model info

# Shows nova-spi version and exit
docker run --rm --entrypoint nova-spi text-generator:0.1.0 model info
# WALL·E SPI, version 1.0.0.dev9
Example 2. Show project manifest
# Option 1.
# Override the entrypoint with "--entrypoint nova-spi" argument
# Then ask to show --raw info

docker run --rm --entrypoint nova-spi text-generator:0.1.0 model info --raw

# Sample output:
# (c) 2025 ICVR LLC - WALL·E Service Provider Interface (SPI) CLI - v1.0.0.dev8
#
# === Project Information ===
# version: 1
# model:
#   name: "text-generator"
#   version: "0.1.0"
#   domain: "text"
#   description: ""
#   author: ""
#   organization: ""
#   creation_date: "2025-05-05"
# ...

# Option 2.
# Override the entrypoint with "--entrypoint bash"
# Then output the /app/manifest.yml file

docker run --rm --entrypoint bash text-generator:0.1.0 -c "cat /app/manifest.yml"

# Sample output:
# version: 1
# model:
#   name: "text-generator"
#   version: "0.1.0"
#   domain: "text"
#   description: ""
#   author: ""
#   organization: ""
#   creation_date: "2025-05-05"
# ...
Using the Model in AI.Portal
Note: The workflow integration functionality described below is planned for future releases and is not available in the initial version.
Example 1. Access Model in Platform
- Log in to AI.Portal web interface
- Navigate to Model Catalog
- Find your submitted model by name
Example 2. Review Model Details
- View model metadata and description
- Check benchmark results
- Review security scan reports
Example 3. Request Access to Model
- Click "Request Access" button
- Provide justification for access
- Wait for approval notification
Example 4. Use Model in Workflows
- Navigate to Workbench
- Create a new workflow
- Add your model as a component
- Configure inputs and outputs
- Run the workflow
Using the Model locally
Example 1. Access Model in Platform
- Log in to AI.Portal web interface
- Navigate to Model Catalog
- Find your submitted model by name
Example 2. Review Model Details
- View model metadata and description
- Check benchmark results
- Review security scan reports
Example 3. Request Access to Model
- Click "Request Access" button
- Provide justification for access
- Wait for approval notification
Example 4. Execute model locally using Docker
- Locate docker credentials & CLI commands either in:
- Access notification email
- Access Details tab in the Model Catalog
- Execute the model by running docker CLI commands
Example 5. Execute model locally using nova-spi CLI
- Use nova-spi CLI to list the available models & notice model id
- Execute the model locally through the nova-spi CLI
Example of local execution using CLI
Note
This functionality is planned for v2 pass on SPI. The design is not final and will be revisited after v1 is complete.
# List available models
$ nova-spi model list
Available models:
  - text-generator:1.0.0 (ID: model-12345)
  - image-generator:2.1.0 (ID: model-23456)
  - text-to-video-gen:1.0.0 (ID: model-34567)

# Get model details
$ nova-spi model info model-34567
Model: text-to-video-gen:1.0.0
ID: model-34567
Status: Active
Description: High-quality text-to-video generation model
Domain: video
...

# Execute model
$ nova-spi model run model-34567 --input prompt="A serene mountain lake at sunset" --output ./outputs
Model execution started...
Processing input...
Generating video...
Execution completed in 45.2s
Results saved to ./outputs

# Execute model with additional parameters
$ nova-spi model run model-34567 \
  --input prompt="A serene mountain lake at sunset" \
  --input resolution="1080p" \
  --input duration=10 \
  --input style="cinematic" \
  --output ./outputs

# Stream logs during execution
$ nova-spi model run model-34567 --input prompt="A mountain landscape" --output ./outputs --watch-logs
Model execution started...
[container] Loading model weights...
[container] Processing prompt: "A mountain landscape"
[container] Generating frames: 1/120...
...
Using the Model in the Cloud
While full cloud execution capabilities will be developed in v2, here are initial approaches for remote model execution:
Using Model API Endpoints
- After deployment, models can be accessed via REST API endpoints
- Use the following command to get API access details:
$ nova-spi model api-info model-34567
API Endpoint: https://aiportal.icvr.io/api/models/model-34567
API Documentation: https://aiportal.icvr.io/docs/api/models/model-34567
Authentication: Bearer token (retrieve from AI.Portal)
- Example API usage:
$ curl -X POST https://aiportal.icvr.io/api/models/model-34567 \
  -H "Authorization: Bearer YOUR_TOKEN" \
  -H "Content-Type: application/json" \
  -d '{"prompt": "A serene mountain lake at sunset"}'
Remote Asset Access Options
- Pre-signed URLs: For large assets, you can request pre-signed URLs to upload files directly to cloud storage:
$ nova-spi model get-upload-url model-34567 --file-name input.mp4
Upload URL: https://storage.icvr.io/uploads/abc123...
Asset ID: asset-56789

# Upload using the URL
$ curl -X PUT https://storage.icvr.io/uploads/abc123... \
  --upload-file input.mp4

# Reference the asset in your model execution
$ nova-spi model run model-34567 \
  --input reference_video=asset-56789 \
  --output ./outputs
- Temporary Storage: For quick testing, you can use temporary storage with automatic cleanup:
$ nova-spi model run model-34567 \
  --upload-input ./input.mp4 \
  --input-param prompt="Enhancement of video" \
  --output ./outputs
Note
Remote asset handling will be significantly enhanced in v2 to provide more streamlined workflows for moving data between local and cloud environments.
Example: Creating a Text-to-Video Model
-
Initialize Project
-
Setup Development Environment
-
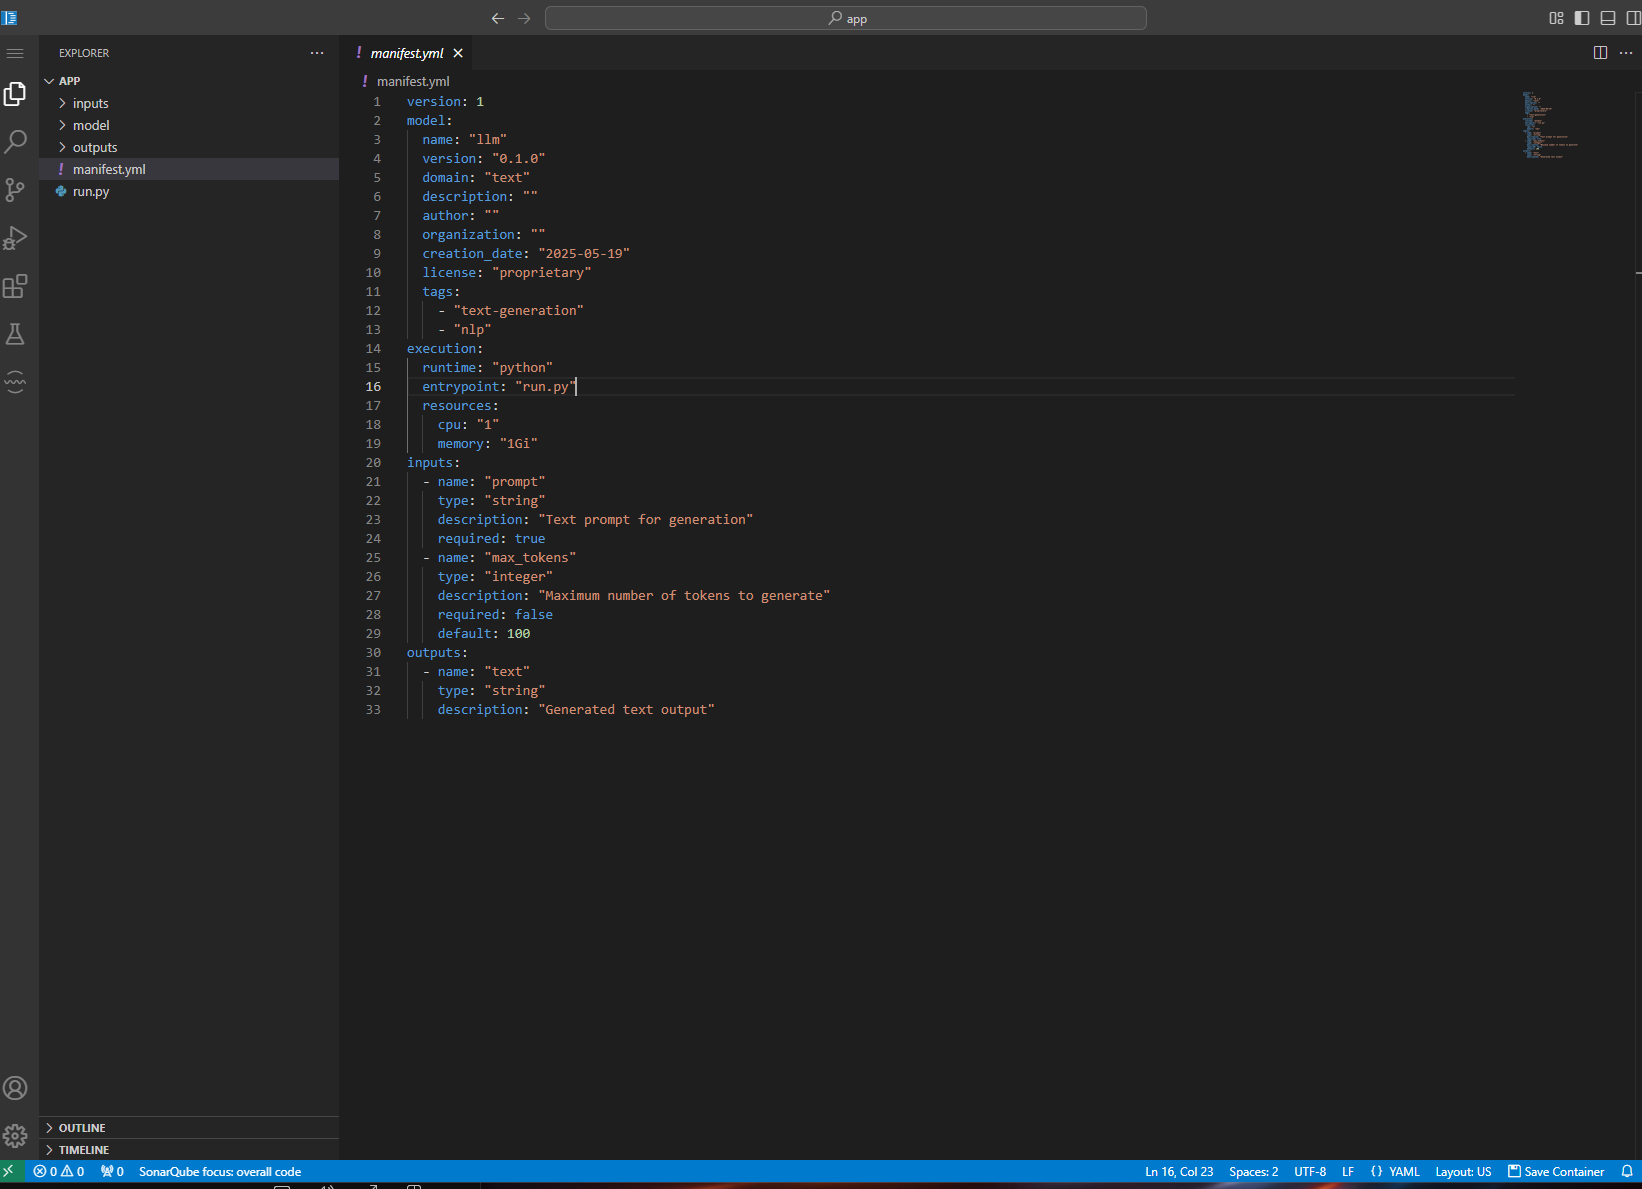
Configure Manifest Edit manifest.yml to define the model metadata, inputs, and outputs according to the example provided in this document. Ensure all AI.Portal catalog fields are properly defined.
- Implement Model Code Edit run.py to implement the text-to-video generation logic using the diffusion pipeline as shown in the example in this document.
-
Test Locally
-
Submit to Workbench
-
Track Progress
This completes the runbook for creating, testing, and deploying an SPI-compliant model to the AI.Portal platform.
Using Workbench development environment
The Workbench provides an integrated development environment with an online VSCode editor running directly in your browser. This environment is pre-configured with all necessary tools and dependencies for SPI development.
Accessing the Development Environment
- Log in to the AI.Portal web interface
- Navigate to My Tickets > Technical Evaluation
- Click the ticket with the model you wish to work with
- Proceed with the dialog to launch new VM or attach to an existing one
- The environment will be provisioned and the VSCode editor will launch
Development Workflow
The Workbench VSCode environment includes a custom SPI extension that provides specialized functionality:
- SPI Command Palette: Quick access to common SPI commands
- SPI Tasks: Pre-configured tasks for building, testing, and validating
Creating LLM Model in Workbench
- Open the Workbench interface
-
You should see the regular VS Code interface with template model created
-
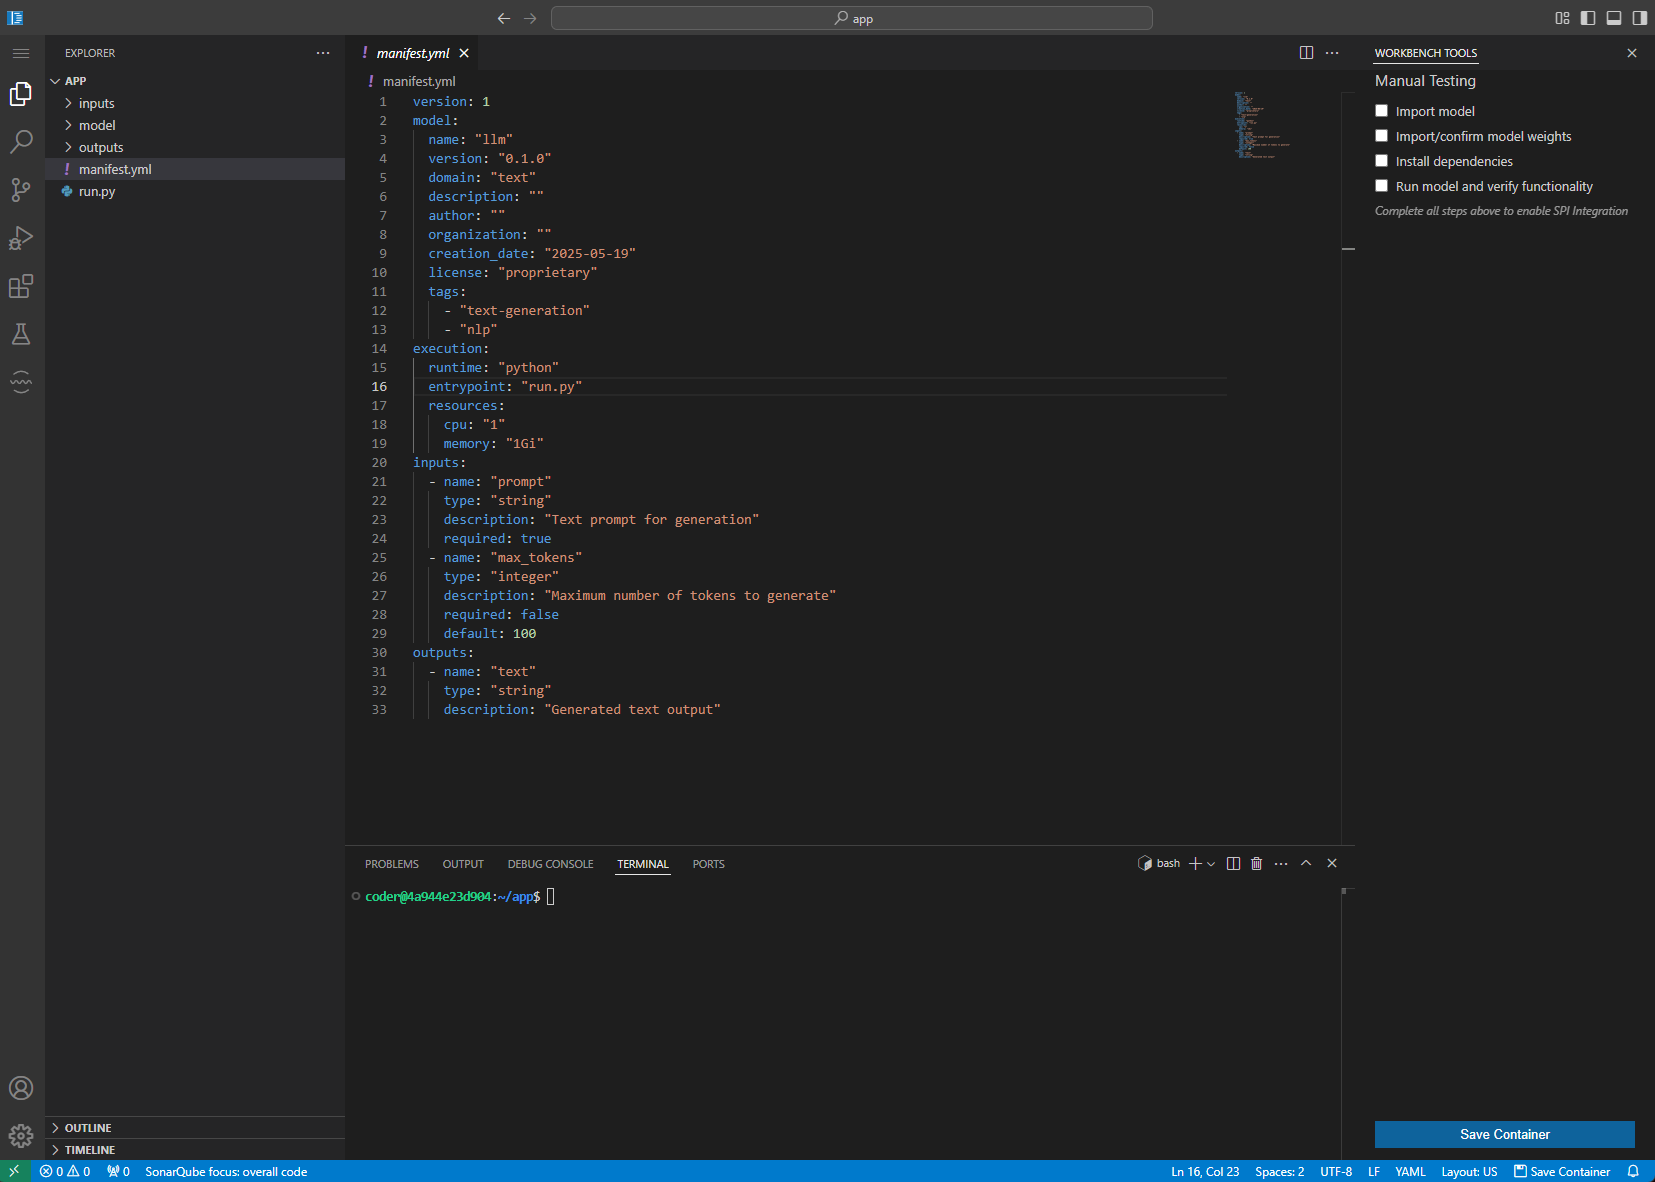
First, open the terminal & SPI tools panel
-
Press these buttons

-
Here is how it should look after all panes are opened:
-
Import the model files using PIP. Then checkmark **Import model & Install dependencies (**because pip automatically did all that)
Sample output# # SAMPLE OUTPUT # Collecting llama-cpp-python Downloading llama_cpp_python-0.3.9.tar.gz (67.9 MB) ━━━━━━━━━━━━━━━━━━━━━━━━━━━━━━━━━━━━━━━━ 67.9/67.9 MB 51.2 MB/s eta 0:00:00 Installing build dependencies ... done Getting requirements to build wheel ... done Installing backend dependencies ... done Preparing metadata (pyproject.toml) ... done Collecting huggingface-hub ... Successfully installed MarkupSafe-3.0.2 certifi-2025.4.26 charset-normalizer-3.4.2 diskcache-5.6.3 filelock-3.18.0 fsspec-2025.3.2 huggingface-hub-0.31.4 idna-3.10 jinja2-3.1.6 llama-cpp-python-0.3.9 numpy-2.2.6 packaging-25.0 requests-2.32.3 tqdm-4.67.1 urllib3-2.4.0 -
Run model & auto-download weights. For this create new file called test.py, then open it in editor and replace its content:
from llama_cpp import Llama

# Load the model (replace with your model path)
llm = Llama.from_pretrained(
    repo_id="TheBloke/Llama-2-7B-Chat-GGUF",
    filename="llama-2-7b-chat.Q4_K_M.gguf",
    n_ctx=2048,
    verbose=False,
)

question = "What is the capital of France?"

# Run inference
output = llm(f"Q: {question}\nA:", max_tokens=32, stop=["Q:"])

# Print the output text
print("--------------------")
print(output["choices"][0]["text"].strip())
print("--------------------")
To run the test file, make sure it’s selected and press F5, select Python Debugger, then select Python File. This will trigger the current file execution in new terminal and you should the output:
Sample output# # SAMPLE OUTPUT # llama-2-7b-chat.Q4_K_M.gguf: 100%|████████████████████████████████████████████████████| 4.08G/4.08G [00:13<00:00, 299MB/s] llama_model_loader: loaded meta data with 19 key-value pairs and 291 tensors from /home/coder/.cache/huggingface/hub/models--TheBloke--Llama-2-7B-Chat-GGUF/snapshots/191239b3e26b2882fb562ffccdd1cf0f65402adb/./llama-2-7b-chat.Q4_K_M.gguf (version GGUF V2) .... llama_perf_context_print: total time = 2324.41 ms / 20 tokens -------------------- The capital of France is Paris. --------------------This means that the weights have been downloaded, the model is running fine. Checkmark both Import/confirm model weights .
-
Change the question on line 11 then press F5 again. The output should be different. This means that model is functional. Checkmark Run model and verify functionality
-
Click Ready for SPI Integration
-
Verify the nova-spi is running, for example by running the template (use terminal):
Sample output# # SAMPLE OUTPUT # (c) 2025 ICVR LLC - WALL·E Service Provider Interface (SPI) CLI - v1.0.0.dev13 === Running text model: llm v0.1.0 === • Input parameters: • prompt: Hello • max_tokens: 100 === Processing inputs with model... === ✓ Model execution success ✓ Model execution completed in 0.20 seconds === Model Outputs === • Output parameters: • text: Hello not what back, this its life, the that a can more world if which man! many show use: was if -
Wall-e SPI is running fine. Checkmark Import SPI
-
Open run.py script in code editor and replace its content:
from llama_cpp import Llama import os from pathlib import Path from walle_spi.core import SPIRuntime # Get the directory of the current script work_dir = Path(__file__).parent.absolute() # Change the current working directory to the script directory os.chdir(work_dir) print(f"Current working directory: {Path.cwd()}") spi = SPIRuntime(work_dir / "manifest.yml") # Parse inputs inputs = spi.parse_inputs() prompt = inputs.get("prompt", "") max_tokens = inputs.get("max_tokens", 900) print("Got inputs", inputs) # Load the model (replace with your model path) llm = Llama.from_pretrained( repo_id="TheBloke/Llama-2-7B-Chat-GGUF", filename="llama-2-7b-chat.Q4_K_M.gguf", n_ctx=2048, verbose=False, ) output = llm(f"Q: {prompt}\nA:", max_tokens=max_tokens, stop=["Q:"]) result = {"text": output["choices"][0]["text"].strip()} print("Got result", result) # Write outputs spi.write_outputs(result) -
Run inference again with terminal:
Sample output# # SAMPLE OUTPUT # (c) 2025 ICVR LLC - WALL·E Service Provider Interface (SPI) CLI - v1.0.0.dev13 === Running text model: llm v0.1.0 === • Input parameters: • prompt: Hello, how are you today? • max_tokens: 100 === Processing inputs with model... === ✓ Model execution success ✓ Model execution completed in 16.93 seconds === Model Outputs === • Output parameters: • text: I'm just an AI, I don't have feelings or emotions like humans do, so I don't have a personal experie... -
Change the question and run again:
Sample output# # SAMPLE OUTPUT # (c) 2025 ICVR LLC - WALL·E Service Provider Interface (SPI) CLI - v1.0.0.dev13 === Running text model: llm v0.1.0 === • Input parameters: • prompt: What is the best AI model for video generation? • max_tokens: 100 === Processing inputs with model... === ✓ Model execution success ✓ Model execution completed in 21.25 seconds === Model Outputs === • Output parameters: • text: There is no single "best" AI model for video generation, as different models excel in different area...Verify the file outputs/output.json is in place, and that it contains the full answer.
-
This makes the SPI integration complete, checkmark Integrate SPI with model
- Save the container using Save Container button
- You can now close the Workbench
Using SPI Commands in the Workbench
Instead of using the CLI, you can use the GUI buttons in the VSCode extension:
Example 1. Create Project: Click "New SPI Project" in the SPI Explorer panel
Example 2. Initialize Environment: Use the "Initialize SPI Environment" button
Example 3. Validate Manifest: Right-click on manifest.yml and select "Validate SPI Manifest"
Example 4. Build Container: Click the "Build" button in the SPI Tasks panel
Example 5. Test Model: Use the "Test" button and enter parameters in the form
Example 6. Run Security Scan: Click "Security Scan" in the SPI Tasks panel
Example 7. Submit Model: Use the "Submit to Platform" button
All these actions execute the same underlying API calls as the CLI would, but provide a more integrated experience.
Advantages of Workbench Development
- Pre-configured Environment: No need to install Docker, Python, or other dependencies
- Direct Integration: Seamless connection to Workbench and Catalog systems
- Consistent Resources: Standardized hardware resources for development
- Team Collaboration: Shared environments for collaborative work
- Resource Efficiency: Development in the cloud without local resource constraints
For advanced users who prefer the CLI approach, you can also open a terminal in the Workbench VSCode editor and use the nova-spi CLI commands as documented in the previous section.