How to Create a Shot
Generate a first shot image, review the result, and iterate safely.
This guide explains how to create a shot (short visual sequence) in Craftology. The workflow starts by generating a start frame, reviewing the result, refining it if needed, and then generating a video clip for the shot.
The process is iterative: you generate, review, adjust, and regenerate until the result matches your expectations.
Step 1 — Open the Shots workspace
Navigate to the Shots section of your project.
The system automatically generates shots from the script. Each shot represents a camera view within a scene.
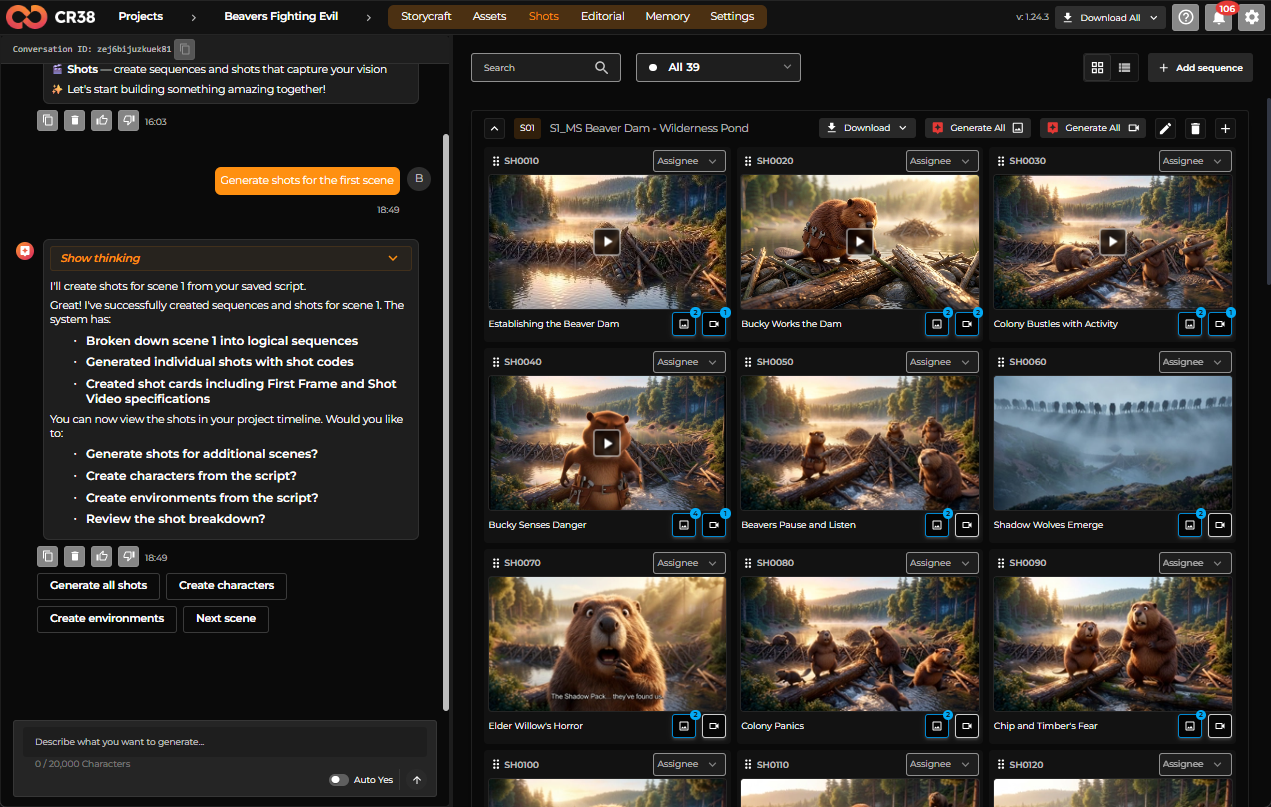
Each shot card includes:
- Shot ID (e.g.,
SH0010) - Shot title
Shot numbering typically uses increments (010, 020, 030, etc.) so new shots can be inserted later.
Step 2 — Open a shot
Click the Go to image chat button at the bottom right of the shot card to open its workspace.
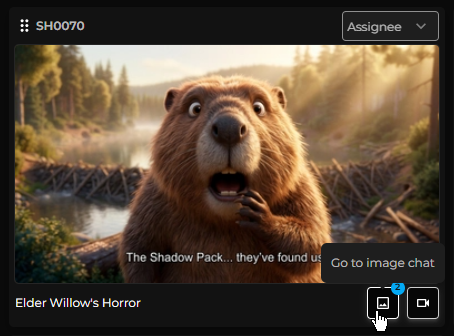
Inside each shot, everything you need is already in place.
The workspace brings together the scene description, camera setup, references, and prompt instructions. It offers you a complete view of what’s being created and why.
Alongside it, the settings panel lets you shape the output. Here, you can choose the model, adjust the aspect ratio and resolution, and specify the number of images created at once.

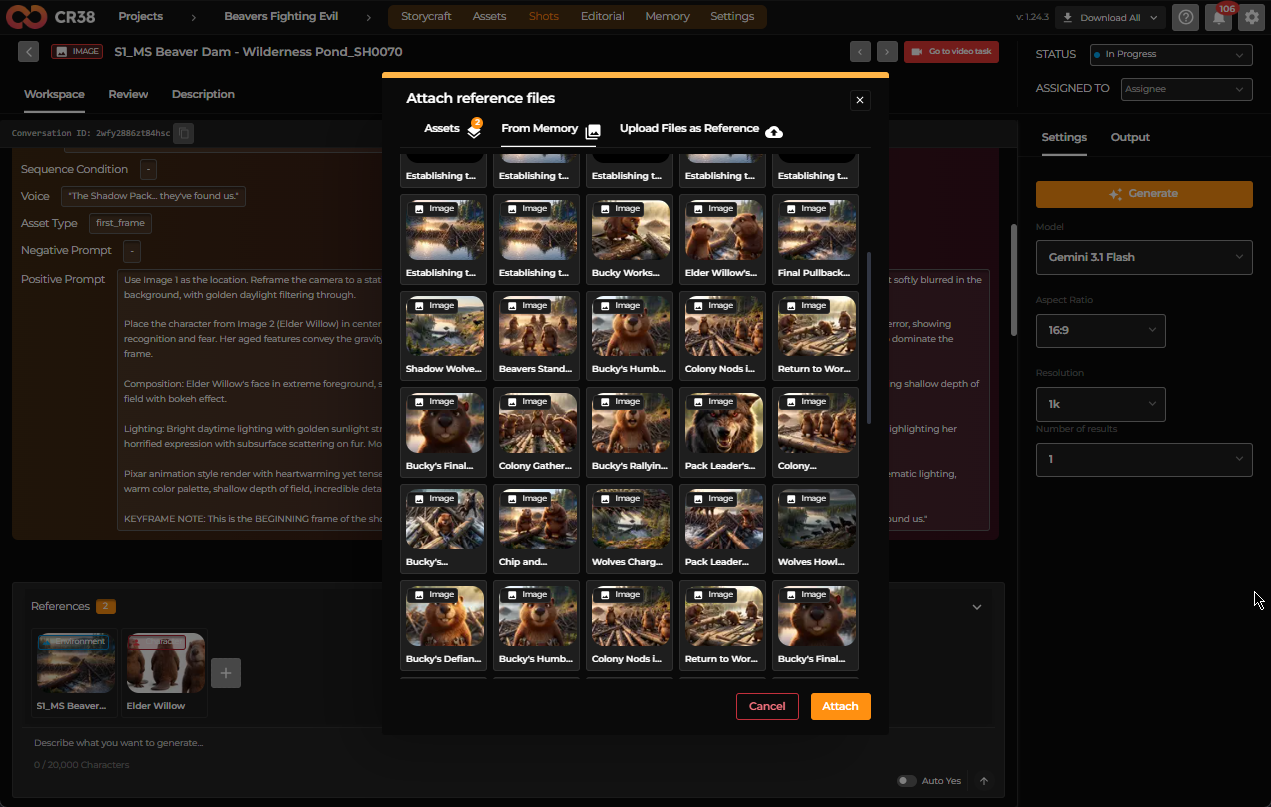
Step 3 — Attach references
Before generating a frame, verify the references. References provide visual context and improve consistency across scenes.
Typical references include Environment an Character assets, previous frames, images from project memory (a shared project storage of artifacts).
To attach references:
- Open the References section.
- Click .
- Select images from Assets, Memory, or upload a file.
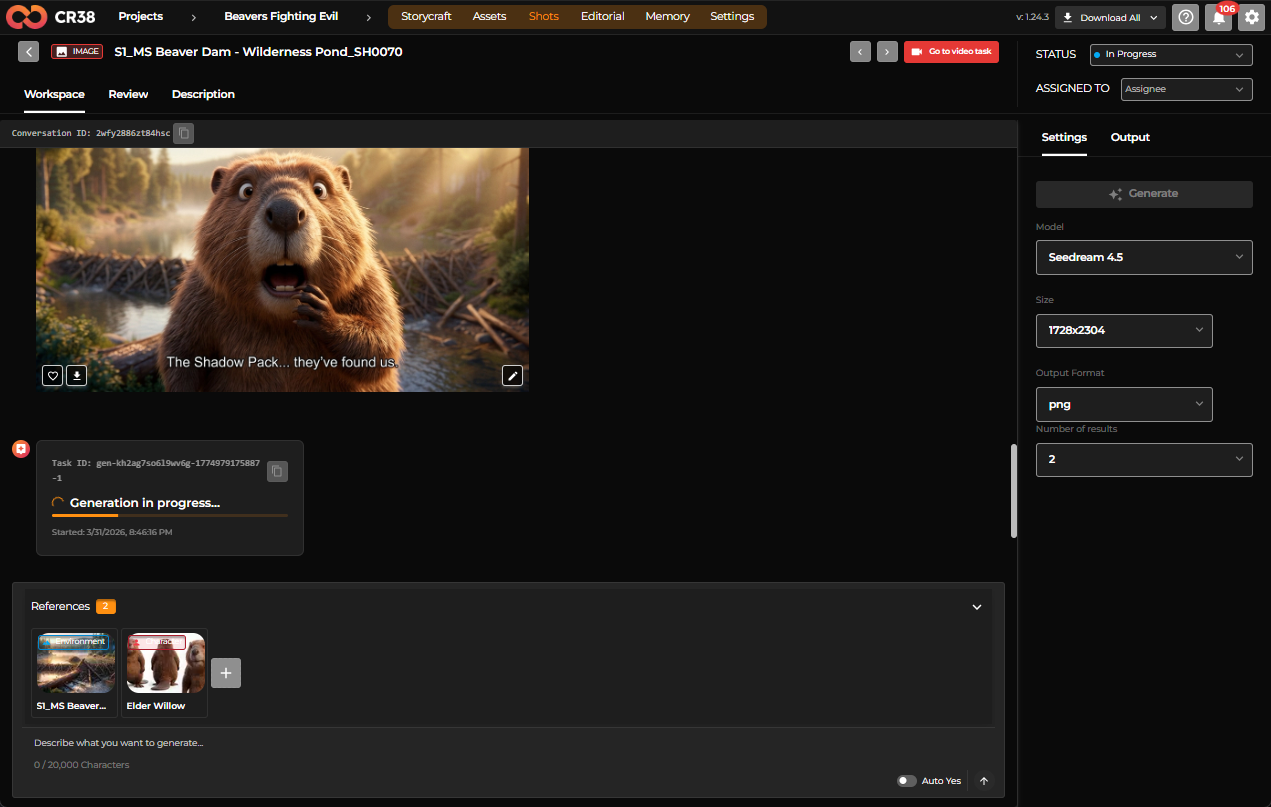
Step 4 — Generate the first frame
Generate a start frame to establish the visual composition of the shot.
- Choose a generation model.
- Select aspect ratio (commonly 16:9).
- Choose the resolution.
- Click Generate.
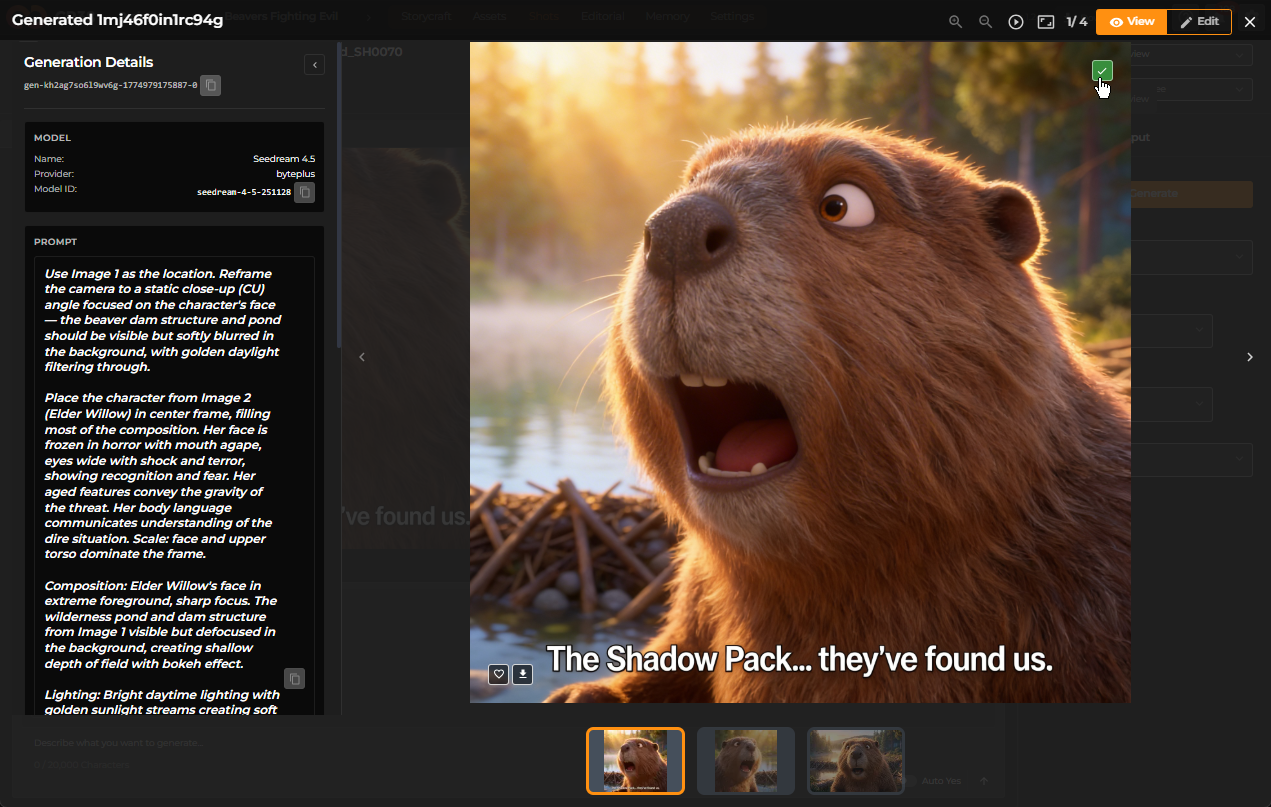
The system creates an image representing the scene described in the shot.
Step 5 — Review the generated frame
Once generation finishes, click the resulting image to open its preview.
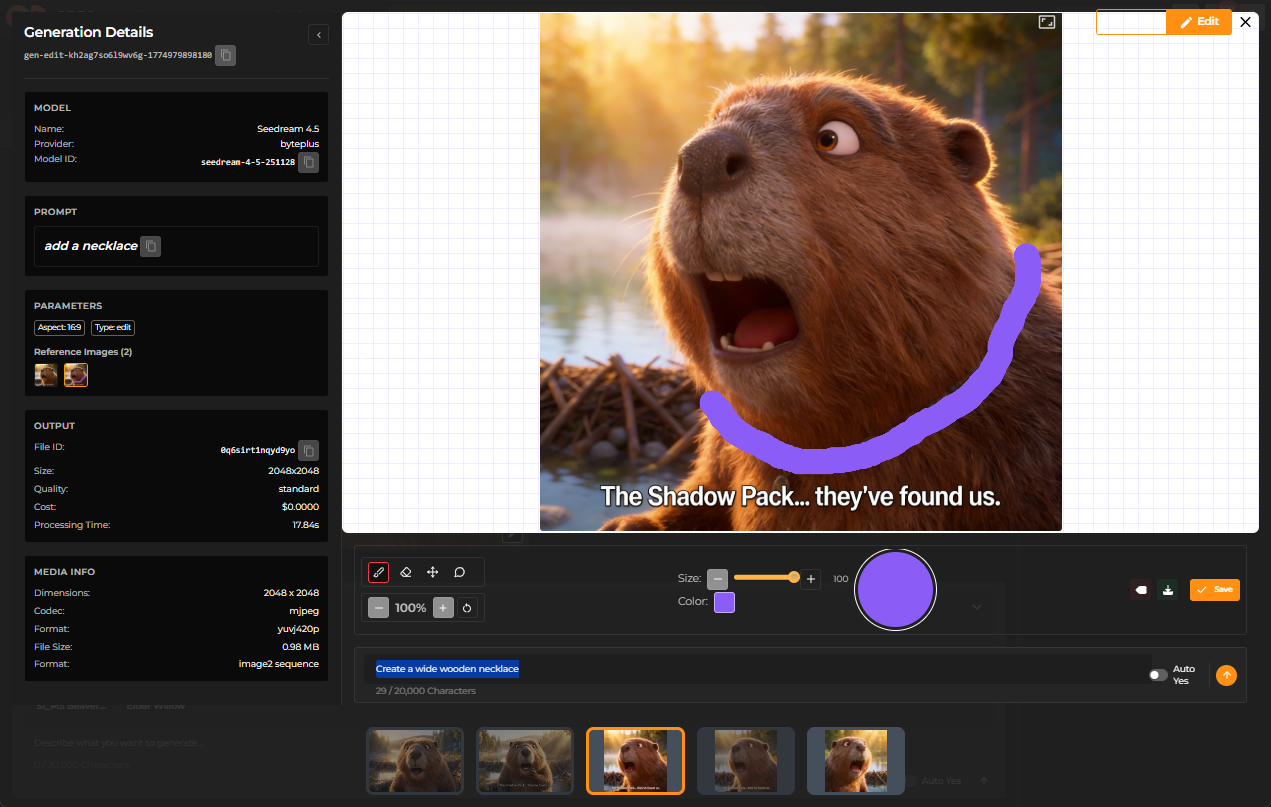
Edit image
Click Edit to invoke image editor. Click View to switch back to image preview.
The Image Editor allows you to refine generated images before approving them as final assets or start frames. It provides simple annotation and editing tools that help guide the next generation iteration.
The editor is typically used when the generated image is close to the desired result but requires small adjustments.
The editor includes several tools, such as Brush, Erase, Move and Comment.
Below the editor workspace there is an input field Add instructions for the next generation. This field allows you to describe how the image should be modified during the next generation cycle. These instructions are combined with the visual annotations when generating the next version.
At the bottom of the editor, previously generated variants of the image are displayed as thumbnails.
You can create a visual annotation - draw a band around the neck - and prompt for a wide wooden necklace:
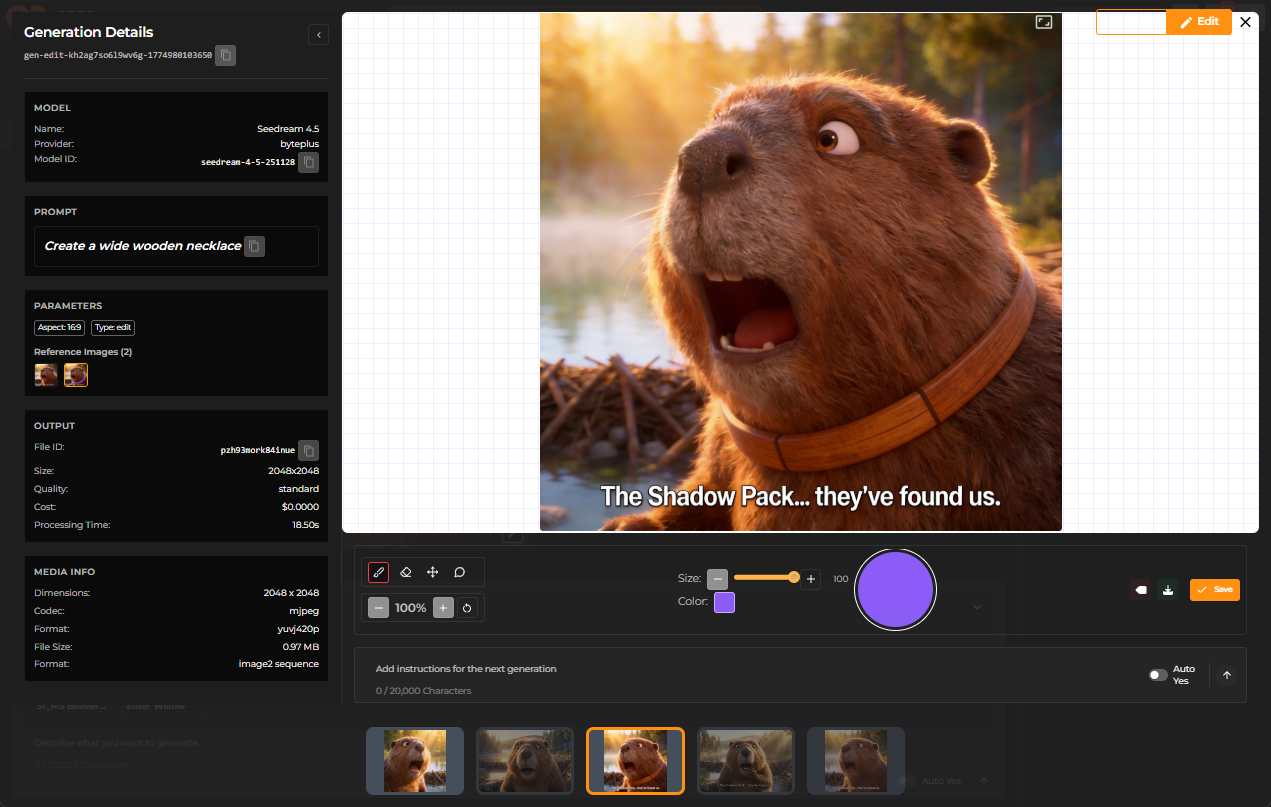
The result is as follows:
Review image
Click the black square in the upper left to mark the image for review. The image appears in the Review tab.
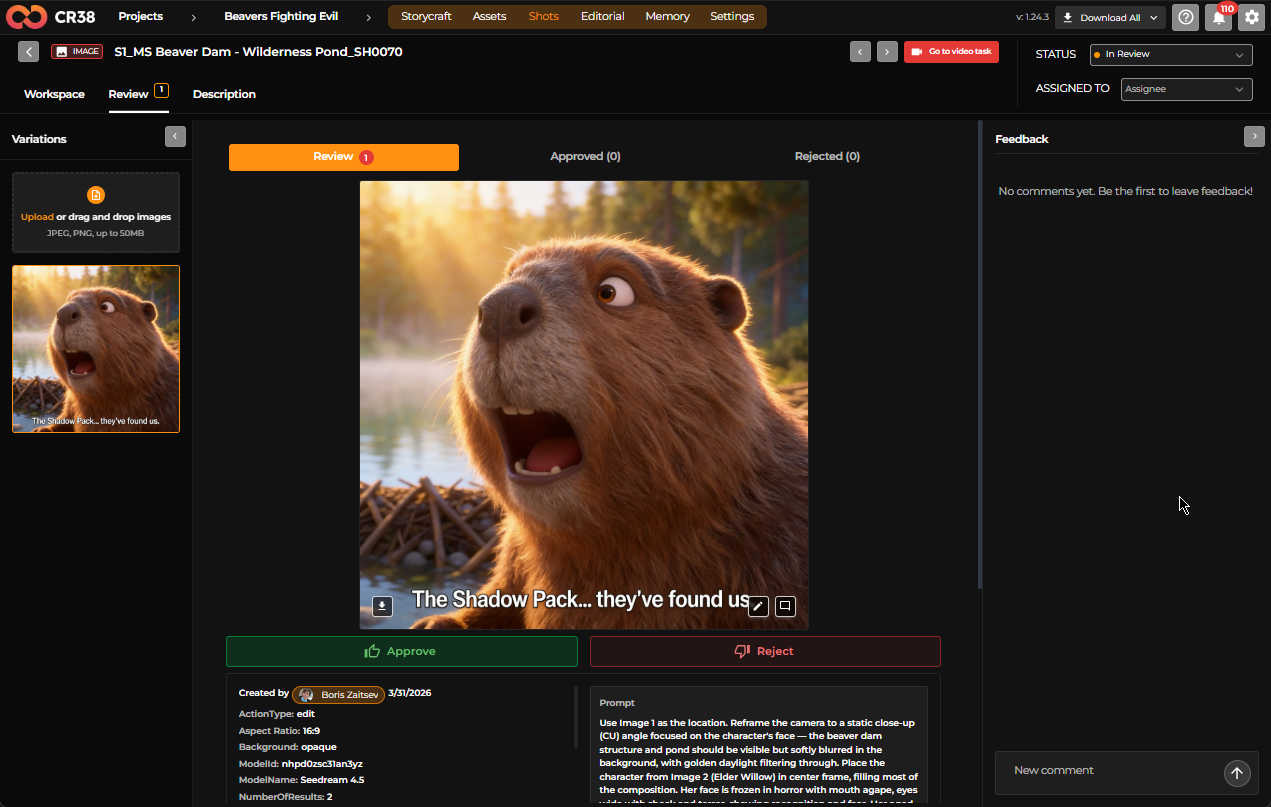
You can:
- Preview the image
- Download it
- Leave feedback
- Approve or reject it
The approved image becomes the official Start Frame of the shot.
Step 6 — Iterate if necessary
If the image does not match your expectations:
- Click Reject.
- Update the description or references.
- Generate a new version.
Multiple iterations may be required to achieve the desired result.
Step 7 — Generate the video clip
After a start frame is approved, you can generate the video clip for the shot.
- Click Go to video task in the shot workspace.
- Select a video generation model in the Settings panel.
- Choose the duration of the clip.
- Verify the aspect ratio and resolution.
-
Click Generate.
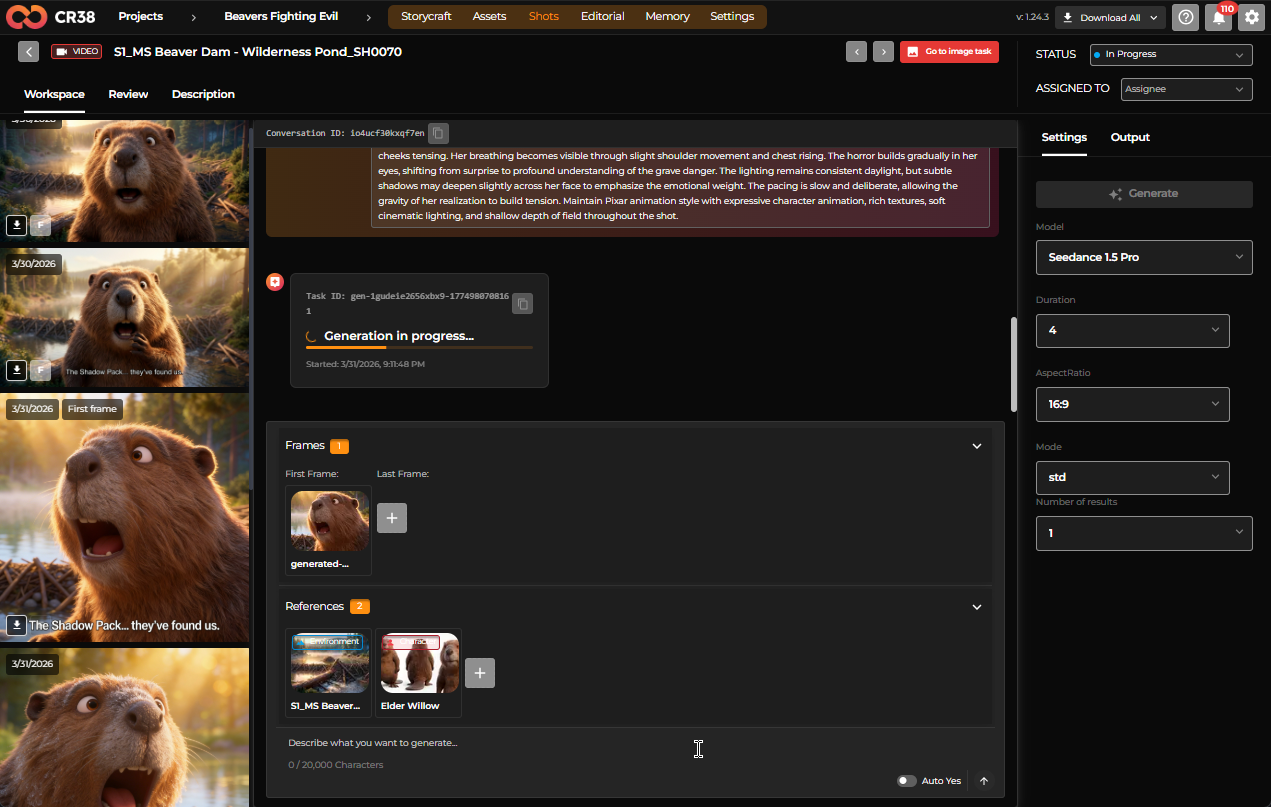
The system uses the start frame, shot description, and references to generate an animated video sequence. You can also add a last frame if necessary.
Step 8 — Review the generated video
Once the video is generated, it appears in the video chat. Click the black square in the preview's upper left to add the video to review.
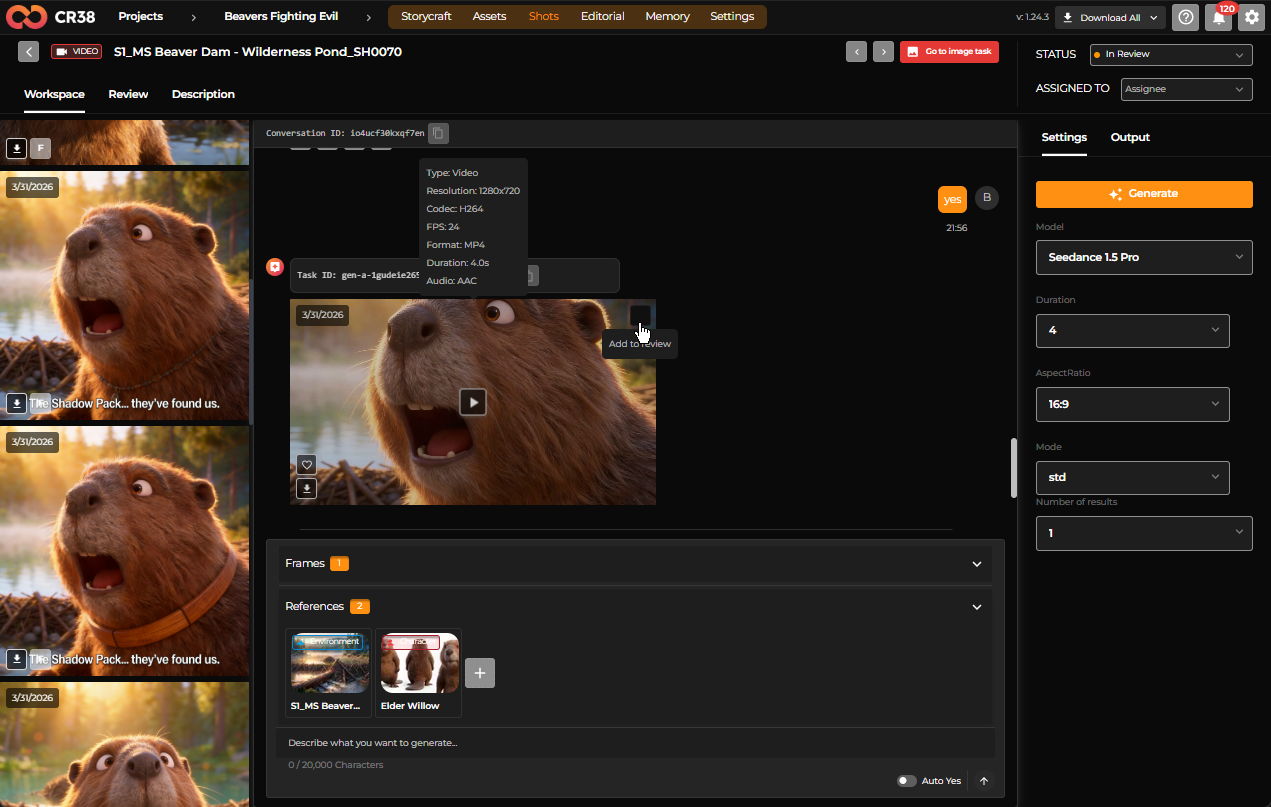
Switch to the Review tab.
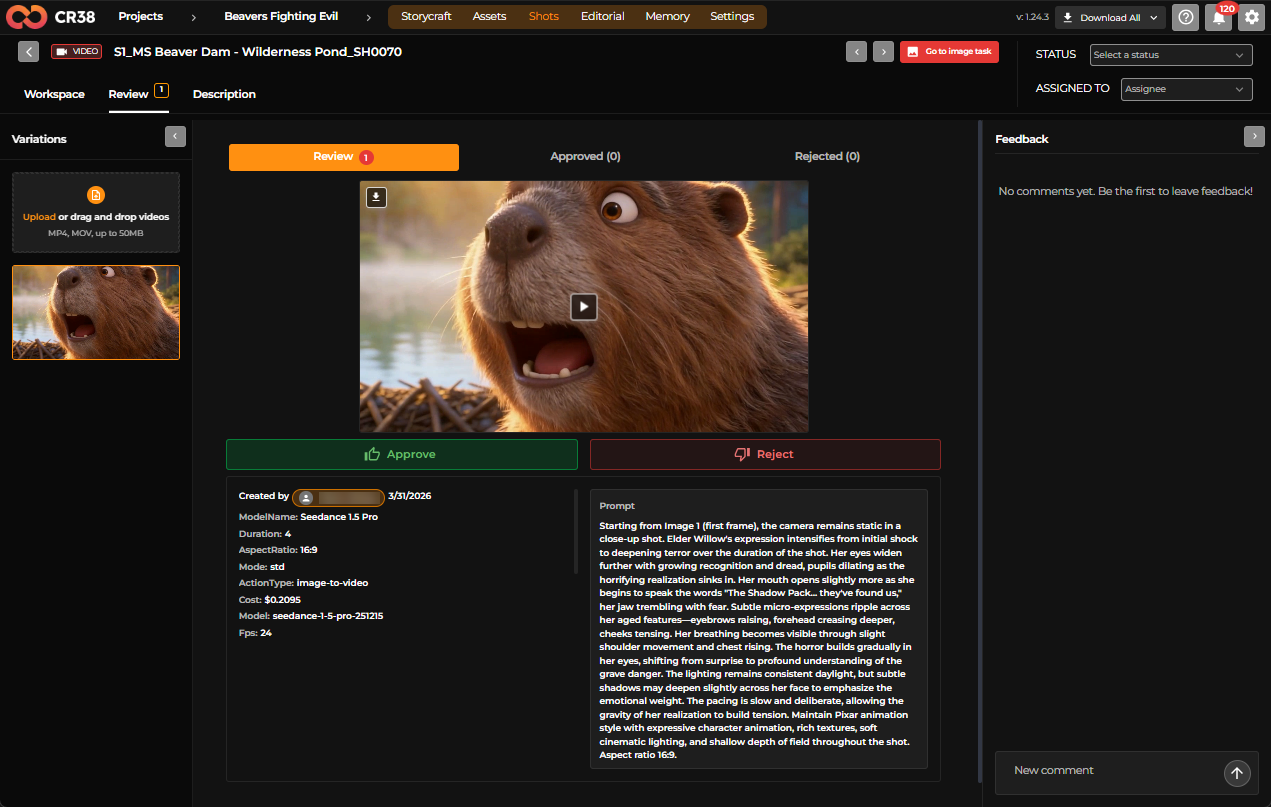
You can:
- Play the clip
- Download the result
- Leave feedback
- Approve or reject the video
Approved videos become part of the final production pipeline.
Step 9 — Iterate safely
If the video is not satisfactory:
- Reject the result.
-
Adjust:
- motion instructions
- scene description
- references
-
Generate a new version.
Best Practices
- Start with a strong start frame
- A good start frame greatly improves video results because the video generation builds from this visual anchor.
- Refine prompts instead of editing images
- Adjust the textual description of the scene rather than manually editing generated images whenever possible.
- Use references for consistency
- Attaching the correct character and environment assets ensures the scene remains consistent with the rest of the project.