AI Studio Launcher
Here is a step by step instruction on how to use DaVinci Resolve with Craftology platform.
Prerequisites
-
Make sure you have the prerequisites installed:
-
Configure the DaVinci Resolve Studio:
- Make sure to use the DaVinci Resolve Studio (Paid) NOT the regular DaVinci Resolve (Free)
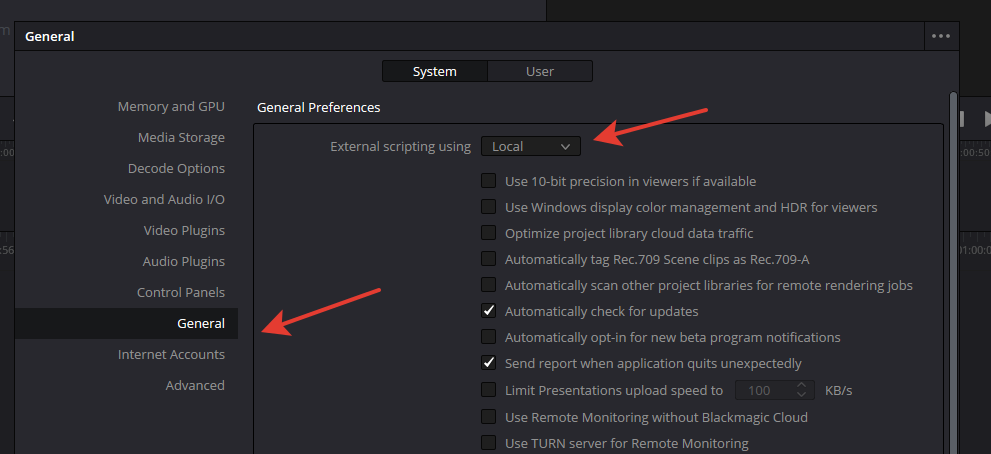
- Open DaVinci Resolve Studio, go to Preferences → General → System and select "External scripting using: Local"
-
Please use the AI Portal v0.54.6 or later
Installation
-
Download the installer v0.1.1, unpack and run it
-
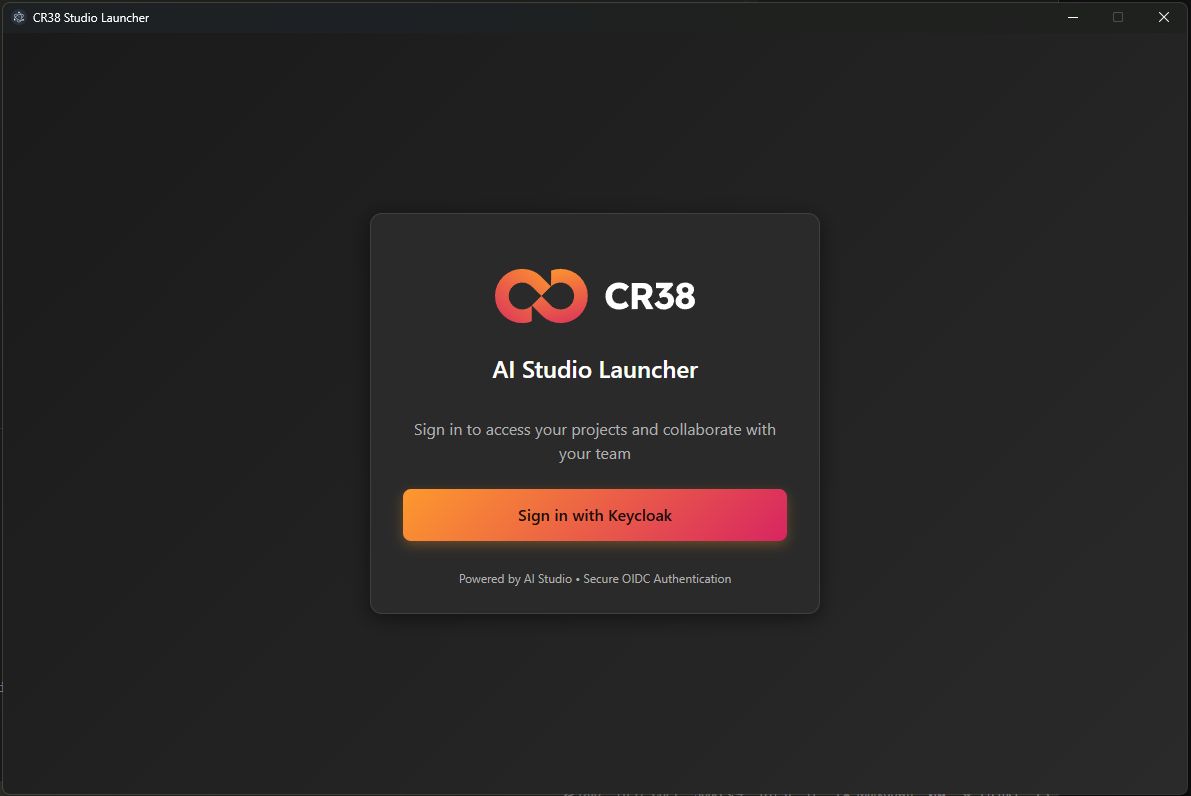
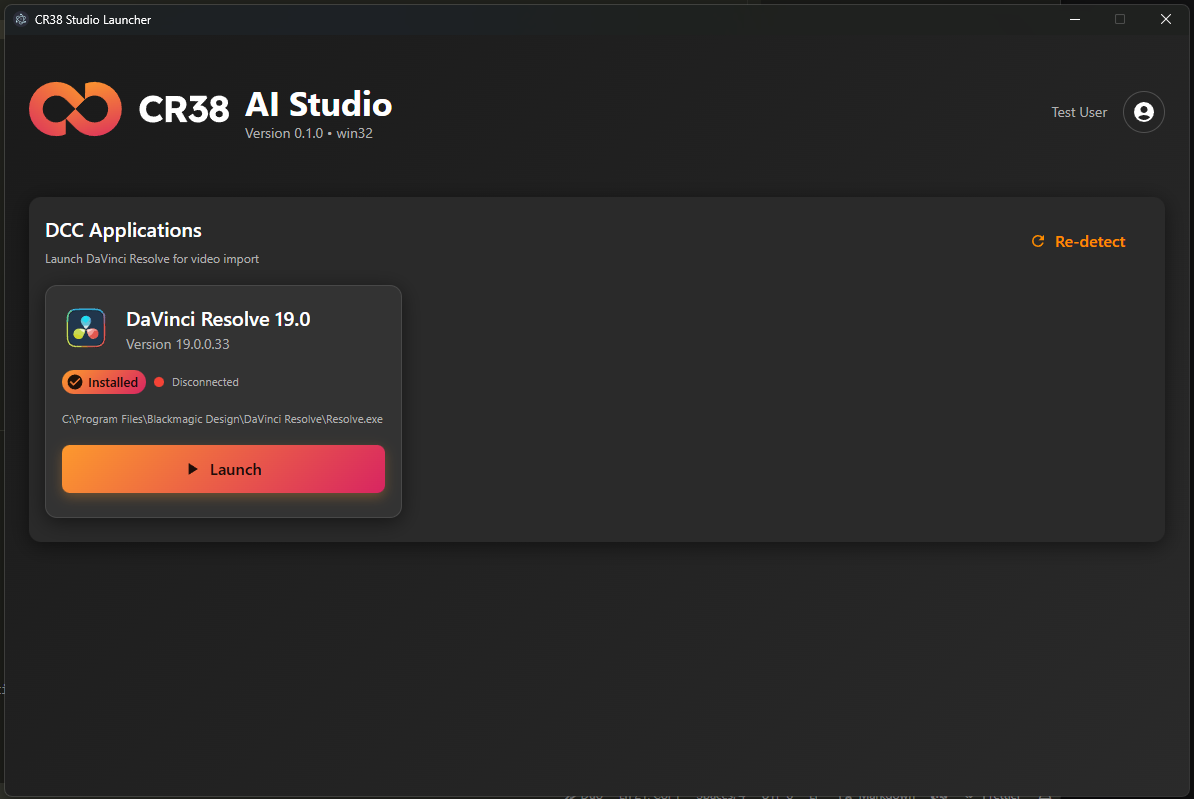
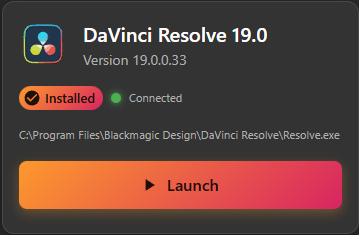
Click "Sign in with Keycloak" button. The app will scan the existing DaVinci Resolve installations, and if all is good, the DCC button will be shown.
-
Click the Launch button, the DaVinci Resolve DCC should open, and the status indicator should turn green with the work "Connected". You're now ready to export the shots from the AI Portal.
-
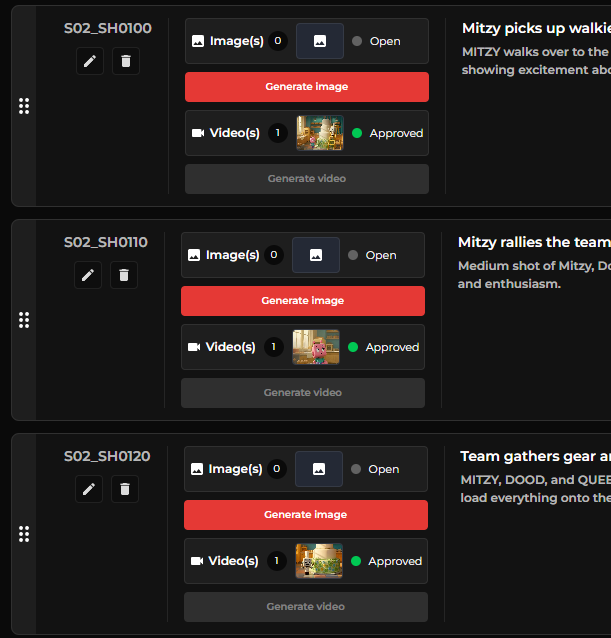
Open AI Portal, login, select the project you would like to export. Open the "Shots" view. You should have at least 1 shot in "Approved" state.

-
Click the Export to DaVinci button
-
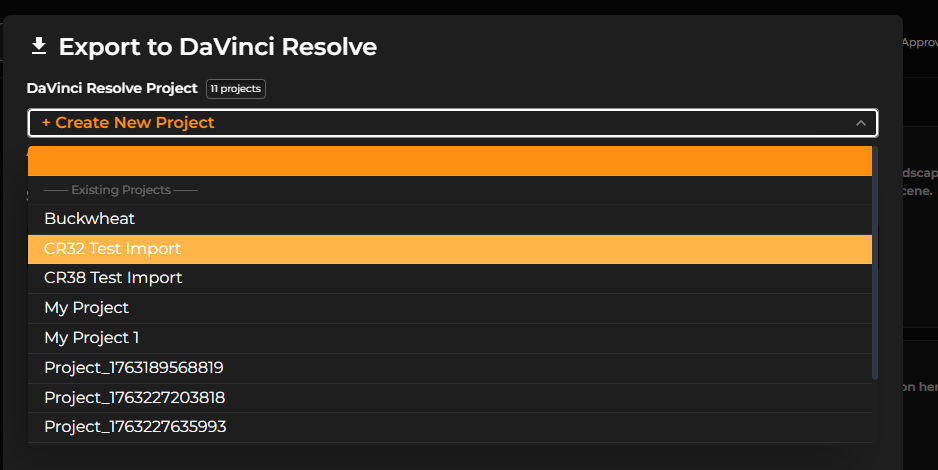
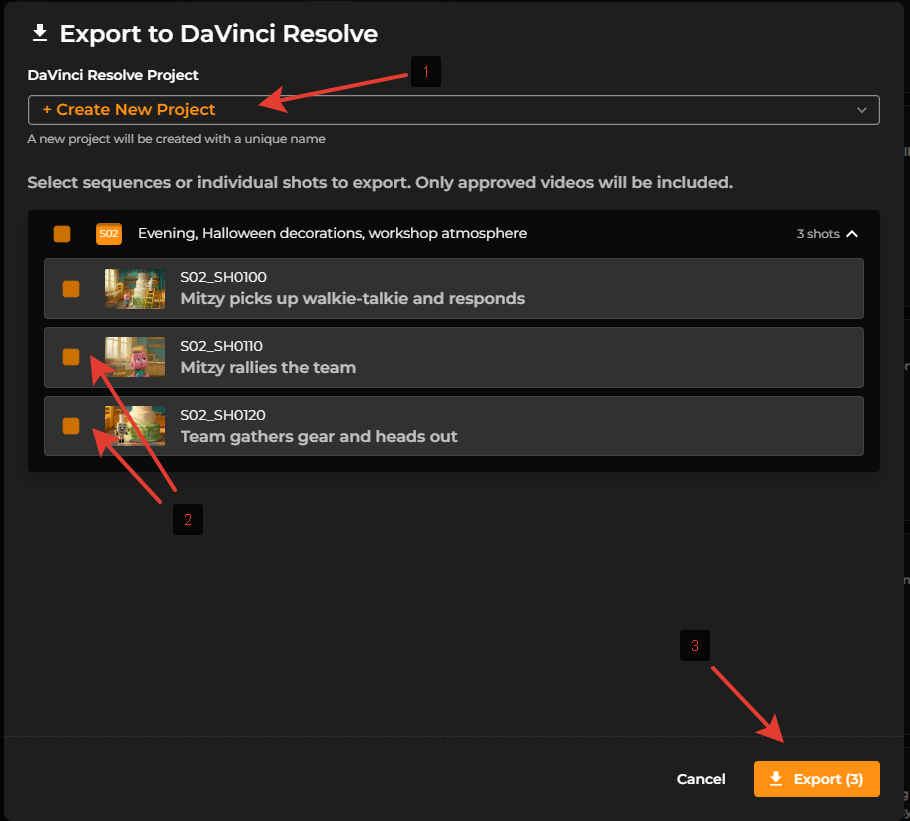
Popup window will open. [1] Select a project to export to or "+Create new project" to create a new project. [2] Toggle the shots to export [3] Click the "Export" button to start exporting
-
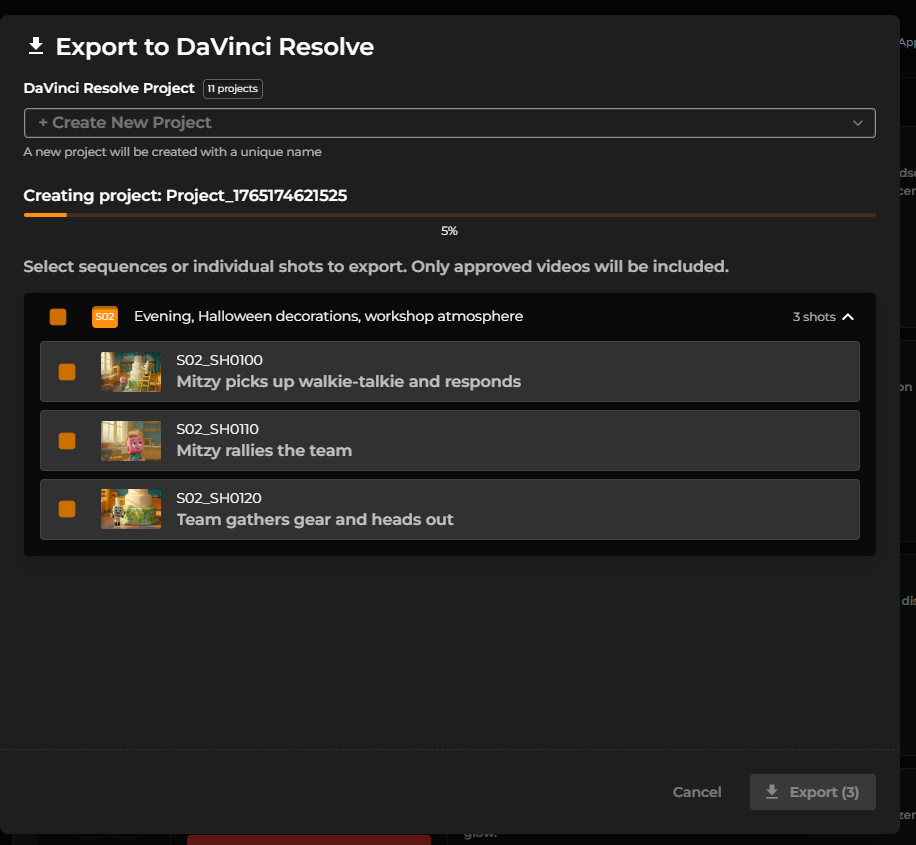
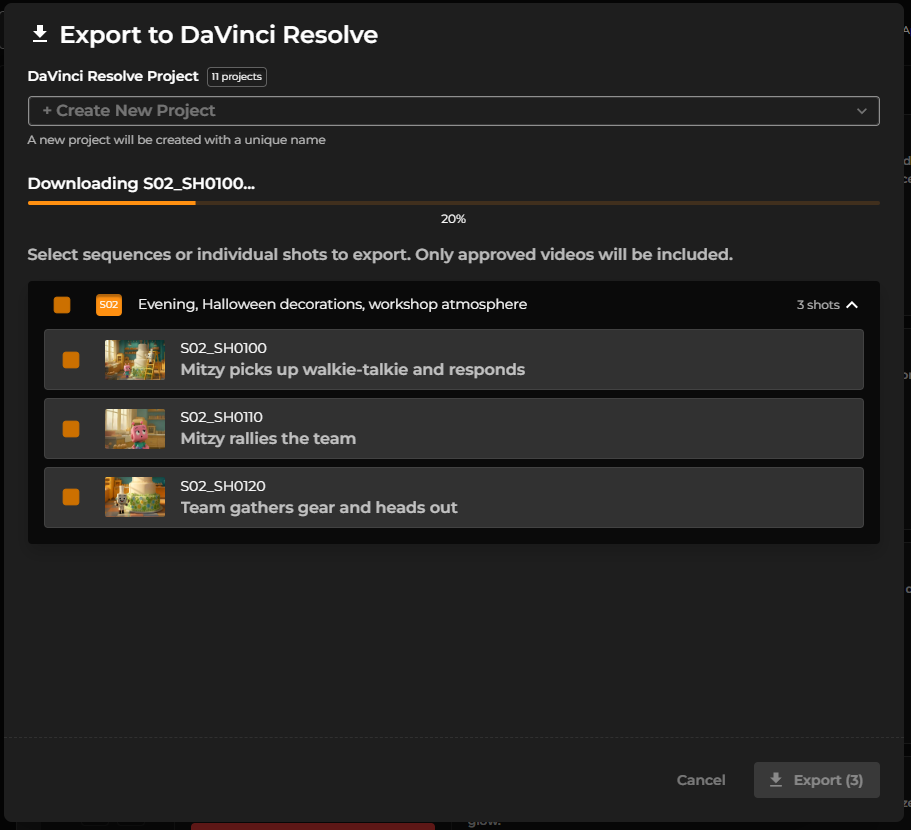
While the export operation will be in progress, don't close the window or browser.
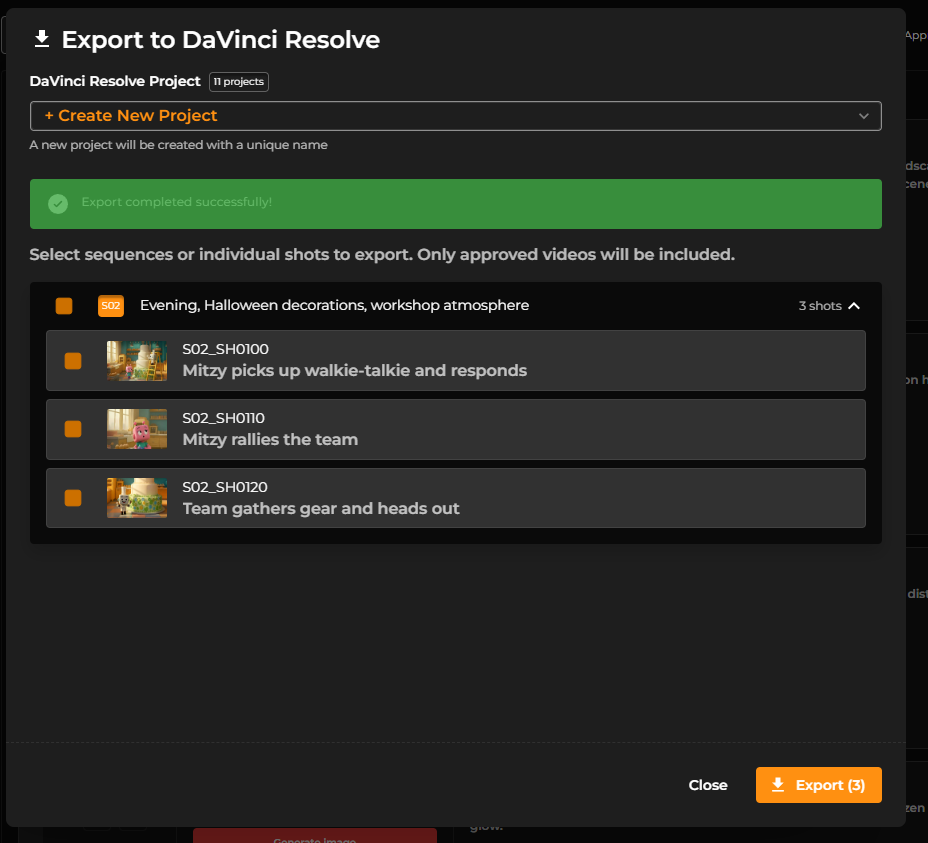
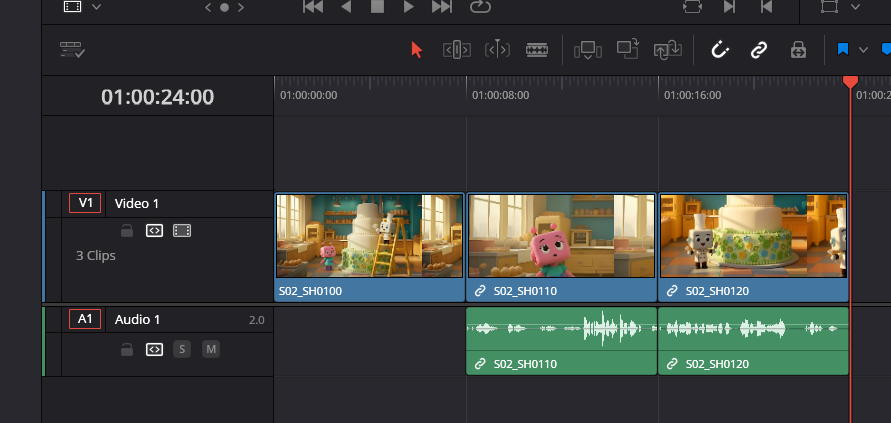
The clips should be added to the the DaVinci Project